✨ This article was AI edited. Editorial responsibility: MissJ.eu.
Produced with AI. This article was artificially generated. Editorial responsibility: MissJ.eu.
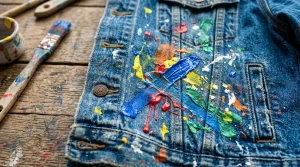
Using standard acrylic craft paint directly on clothing, tote bags, and custom accessories is one of the most cost-effective and accessible DIY crafts. While commercial textile mediums are frequently marketed as indispensable, you can create durable, flexible, and fully permanent textile artwork using acrylic paint on fabric without medium by understanding the science of water thinning, natural fiber absorption, and thermal polymer bonding.
In this masterclass tutorial, we detail the chemistry of acrylic adhesion, explore tool recommendations, demonstrate the 80/20 dilution rule, and provide foolproof heat-setting methods that prevent cracking and fabric stiffness.
The Science: Why Textile Medium is Optional
A commercial fabric medium is essentially pure liquid acrylic polymer emulsion without pigment. Its main functions are lowering paint viscosity and increasing dry flexibility. However, standard acrylic paints already contain genuine acrylic polymer binders. When diluted with the exact correct ratio of clean water and worked into porous natural fibers (like cotton, linen, or denim), the paint naturally dyes and binds to the twisted cellulose strands.
Tools & Materials Checklist
- Fabric Base: 100% natural fiber garment (cotton shirt, denim jacket, linen apron, canvas shoes).
- Paints: Artist-grade or student-grade acrylic paint in tubes or jars.
- Water Reservoir: Clean distilled water in a dropper or small dish for precise thinning.
- Rigid Insert: Cardboard or plastic sheet to place inside the garment.
- Brushes: Synthetic flat shaders, round detailers, and angled brushes with firm bristles.
- Parchment Paper: Heat-resistant baking paper for protective ironing.
- Household Iron: Set to cotton/linen dry heat (strictly no steam).
Step-by-Step Tutorial: The No-Medium Master Method
Step 1: Stripping the Factory Sizing
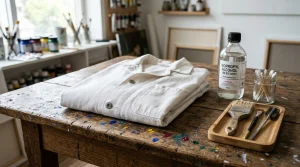
Brand new clothing is coated in chemical sizing agents and starches that prevent liquid absorption. Wash the garment in hot water with standard laundry detergent (avoid fabric softeners or dryer sheets, which leave a silicone barrier) and dry thoroughly. Iron out all wrinkles.
Step 2: Preparing the Workstation
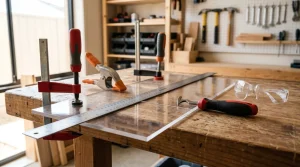
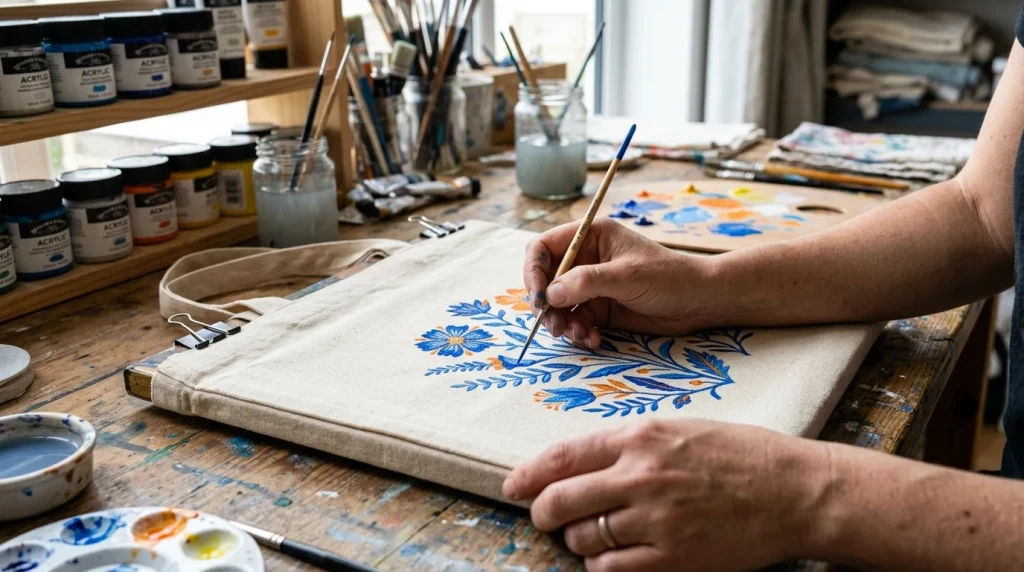
Insert a smooth cardboard backing board inside the shirt or tote bag and clamp the fabric tight using binder clips. This prevents paint from bleeding through to the back and keeps the fabric taut while painting.
Step 3: The Golden 80/20 Dilution Ratio
Place your acrylic paint on a smooth palette. Add small drops of water using a brush until you achieve an 80% paint to 20% water ratio. The paint should flow smoothly off the brush like heavy cream without dripping watery puddles. Warning: Do not exceed 25% water, as excessive dilution weakens the polymer binder.
Step 4: Layering Technique
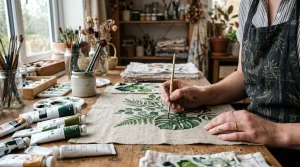
Work the thinned paint into the fabric weave using firm synthetic bristles. Apply 2 to 3 thin, translucent coats rather than one heavy, opaque slab. Allow 20 to 30 minutes of drying time between layers.
Step 5: 48-Hour Air Cure
Allow the painted garment to sit flat in a dry, room-temperature environment for 24 to 48 hours. This allows the polymer particles to begin natural cross-linking before thermal heat is applied.
Step 6: Thermal Heat Setting
Place a sheet of parchment paper over the dry painted artwork. Set your household iron to medium-high dry heat (cotton setting, NO STEAM). Press firmly, moving the iron continuously in small circles for 3 to 5 minutes across the entire painted area. Turn the garment inside out and iron the reverse side for another 2 minutes.
Troubleshooting Common DIY Fabric Painting Problems
| Problem | Underlying Cause | Solution |
|---|---|---|
| Cracking After Drying | Paint was applied too thickly without water dilution | Sand lightly with 400-grit paper; touch up with thinned paint; re-iron |
| Bleeding / Feathering Edges | Too much water added (>30%), wicking along fibers | Maintain strict 80/20 ratio; outline design with fabric paint marker first |
| Paint Fading in First Wash | Fabric was not pre-washed or heat setting was insufficient | Always pre-wash; iron with parchment paper for a full 3–5 minutes at 300°F |
Frequently Asked Questions
Can I use baking paper for heat setting?
Yes, standard silicone-coated kitchen parchment paper (baking paper) is the ideal heat barrier because it withstands 450°F temperatures and prevents sticky paint from adhering to your iron plate.
Can I wash painted clothes in hot water?
To maximize the lifespan of custom hand-painted clothing, always wash in cold or lukewarm water on a gentle cycle. High-temperature water and harsh chemical bleaches can degrade the acrylic polymer over time.
What happens if I forget to heat set my painted garment?
Without heat setting, the acrylic polymer chains do not fully thermal-weld to the cotton fibers. When washed, the paint will crack, flake, and partially dissolve in laundry water.
Comprehensive Acrylic-to-Water Dilution Matrix
Achieving the optimal paint viscosity without commercial medium depends on the weight and weave of your chosen textile:
| Fabric Type & Weave | Paint-to-Water Ratio | Number of Coats | Tactile Hand Feel After Heat Set |
|---|---|---|---|
| Heavy Canvas (Totes, Aprons) | 85% paint / 15% water | 1 – 2 coats | Completely smooth and solid; zero crack risk |
| Denim Twill (Jackets, Jeans) | 80% paint / 20% water | 2 – 3 thin coats | Flexible; bends naturally with denim folds |
| Light Cotton Jersey (T-Shirts) | 75% paint / 25% water | 2 thin washes | Soft and breathable, minimal stiffness |
Top Mistakes to Avoid When Painting Without Medium
- Skipping the Pre-Wash: Painting directly on brand-new store garments prevents paint from adhering to raw cotton fibers.
- Over-Diluting Beyond 25%: Adding excessive water breaks the polymer chains, resulting in color fading after the first wash.
- Using Steam During Ironing: Steam introduces moisture that interferes with the dry polymer cross-linking reaction. Always use dry heat.
Get our latest guides, news, and insights highlighted in your Google Search & AI Overviews.