Did you know that improperly removing acrylic nails can not only damage your natural nails but also pose risks to your favorite jewelry? In “How To Soak Off Acrylics At Home: Save Your Jewelry Safely,” we’ll guide you through the process of removing acrylics without compromising your precious pieces. Whether you’re a DIY enthusiast or just looking to save some money, learning the right methods is essential for maintaining both your nails and jewelry. By the end of this article, you’ll equip yourself with safe, effective techniques to keep everything sparkling and intact. So let’s dive in and discover how you can master this skill while protecting your accessories!
How To Prepare Your Nails Before Soaking Acrylics
Before beginning the soaking process for acrylic nails, it’s essential to take a few preparatory steps that can make the removal both safe and effective. Proper preparation not only helps in the successful removal of the acrylics but also protects your natural nails and surrounding skin. Additionally, it’s a good opportunity to safeguard your jewelry, as the soaking process involves acetone, which can damage certain metal finishes and gemstones.
Start by gathering your necessary tools, which will ensure that you have a smooth experience. Clear a workspace and ensure that it is well-ventilated, as the fumes from acetone can be overwhelming. Next, you should gently file the surface of the acrylic nails with a nail file to break the seal and allow the acetone to penetrate more effectively. Focus on filing the tips and surface, being careful not to file down to the natural nail bed.
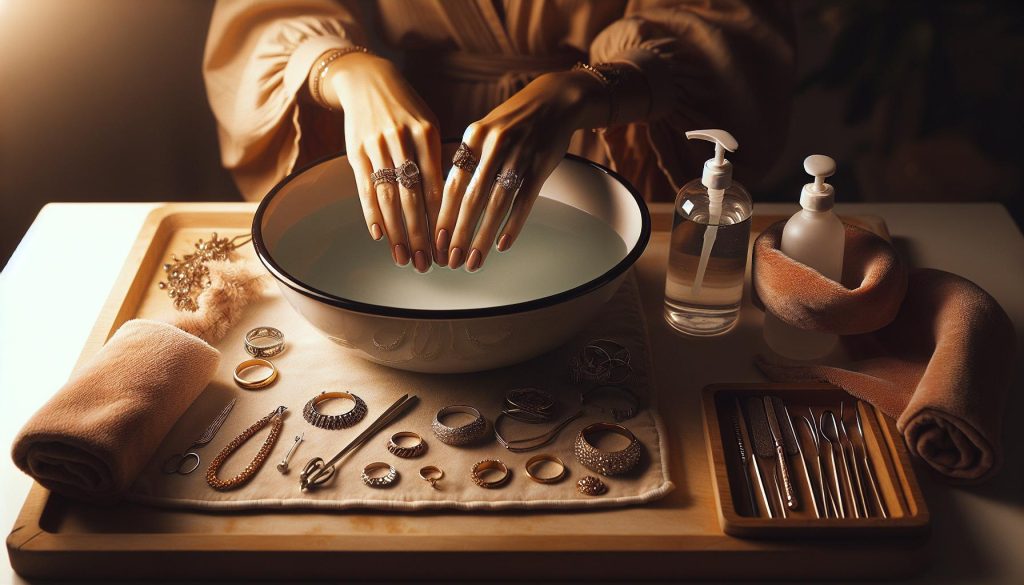
As part of your preparation, it’s wise to check your jewelry collection and remove any pieces that might come into contact with acetone. Even substances labeled as safe can alter the surface of your favorite accessories. For those who want an extra layer of protection, consider using a barrier cream on your skin to keep it from drying out during the soaking. This is especially important near the cuticles and fingers.
Finally, ensure that you have a timer handy. Timing is crucial to prevent over-soaking in acetone, which can weaken your natural nails. By following these preparatory steps, you create a well-organized environment that is conducive to safe and effective acrylic nail removal.
Essential Tools You Need for Safe Removal
To ensure a smooth and safe acrylic nail removal process, equipping yourself with the right tools is essential. Having the proper materials not only helps in effectively soaking off acrylics but also minimizes damage to your natural nails and protects your jewelry from potential harm caused by acetone.
Start with a detailed toolkit that will enhance your removal experience. Some essential items include:
- Acetone-based nail polish remover: This is crucial for breaking down acrylic nails effectively.
- Foil wraps or cotton balls: Use these to apply acetone to your nails. Foil wraps keep the acetone in contact with the acrylic while preventing evaporation.
- Nail file: A coarse file helps break the seal on the surface of the acrylic, allowing for better acetone penetration.
- Buffer block: This is useful for gently buffing away any remaining product after the acrylic has lifted.
- Orange sticks or cuticle pushers: These tools are handy for gently pushing off the loosened acrylic once the soaking process is complete.
- Timer: Keeping track of your soaking time is vital to prevent overexposure to acetone.
- Barrier cream: Consider applying this to your skin before starting the removal to protect against drying or irritation from acetone.
For those who care about their jewelry, it’s advisable to keep a designated area for your accessories during this process. Crafted from metals that might react negatively to chemicals, your favorite pieces should be stored safely away from acetone. Clear storage containers or pouches can keep your jewelry organized and protected, ensuring they remain in pristine condition throughout the acrylic removal.
By gathering these tools and preparing your workspace, you set the stage for an effective and safe removal process, allowing you to focus on achieving beautiful, healthy natural nails while safeguarding your jewelry collection.
Step-by-Step Guide to Soaking Off Acrylics
Soaking off acrylic nails at home can be a straightforward process when performed correctly. However, it’s essential to follow a methodical approach to ensure safe and effective removal while protecting your natural nails and preserving your jewelry. Begin by preparing your workspace with a clean, flat surface and all necessary tools at hand.
First, trim your acrylic nails to a shorter length to minimize the amount of product that needs to be dissolved. This can be easily accomplished using a pair of nail clippers. After that, gently file the surface of each acrylic nail with a coarse nail file, breaking the top coat to allow better penetration of the acetone. Be careful not to file too deeply into the natural nail beneath.
Next, soak cotton balls in acetone-based nail polish remover, making sure they are saturated but not dripping. Place a soaked cotton ball on top of each nail, ensuring full coverage. Wrap each fingertip in foil to hold the cotton ball in place and create a sealing effect, which keeps the acetone from evaporating. Alternatively, you can purchase pre-made foil wraps, which can simplify this process.
Set a timer and allow your nails to soak for about 20-30 minutes. While you wait, you can take this opportunity to prepare a safe area for your jewelry. Acetone can damage certain metals and stones, so keep your jewelry in a separate, secured location away from your workspace.
After the soaking time is up, check a few nails to see if the acrylic is soft enough to gently push off with an orange stick or cuticle pusher. If the acrylic peels off easily, continue removing it from all fingers. If some spots remain stubborn, re-soak for an additional 10 minutes. Once you’ve removed all acrylics, wash your hands thoroughly with soap and water to remove any acetone residue, and you can now proceed to care for your natural nails.
Best Practices for Protecting Your Natural Nails
To ensure the health and beauty of your natural nails while soaking off acrylics, adopting a few best practices is essential. One of the most critical steps is to avoid excessive exposure to acetone, which can be quite harsh on your nails. Instead, you can create a more balanced approach by using an acetone-free remover or diluting acetone with a carrier oil, such as coconut or olive oil. This not only introduces hydration but also protects the nail bed, reducing the risk of damage.
Protection doesn’t stop at just the removal process. Before you begin soaking, apply a nourishing oil or cuticle cream around your cuticles and on your natural nails. This creates a barrier against the drying effects of acetone while also promoting moisture retention. Regularly caring for your nails post-removal is vital, so consider incorporating a nail strengthener or a moisturizing base coat as part of your nail care routine. These products can offer additional protection as your nails recover and regenerate.
Hydration is Key
Maintaining hydration in your nails and cuticles is crucial for long-term health. After completing the acrylic removal, rinse your hands and nails thoroughly and follow up with a rich hand cream or cuticle oil to replenish lost moisture. Massaging the oil into your nails and cuticles will not only hydrate but also stimulate blood flow, which encourages healthy nail growth. Try to make this part of your routine, especially after using harsh chemicals like acetone.
Regular Maintenance
Regular maintenance of your natural nails is just as important as the removal process. Schedule periodic breaks between acrylic sets to allow your natural nails to breathe and regain strength. During these intervals, keep your nails clipped short to reduce the risk of breakage and invest time in weekly nail-care rituals. These can include filing, buffing, and applying nourishing treatments specifically designed for nail health. As an added bonus, engage in gentle manicures that promote blood circulation without being overly aggressive, ensuring your nail beds remain healthy and your cuticles are in pristine condition.
By incorporating these best practices, you’ll not only protect your natural nails during the acrylic removal process but also enhance their overall appearance and health. With a bit of care and attention, your nails can thrive beautifully, ready to showcase your style, whether you choose acrylics or go natural.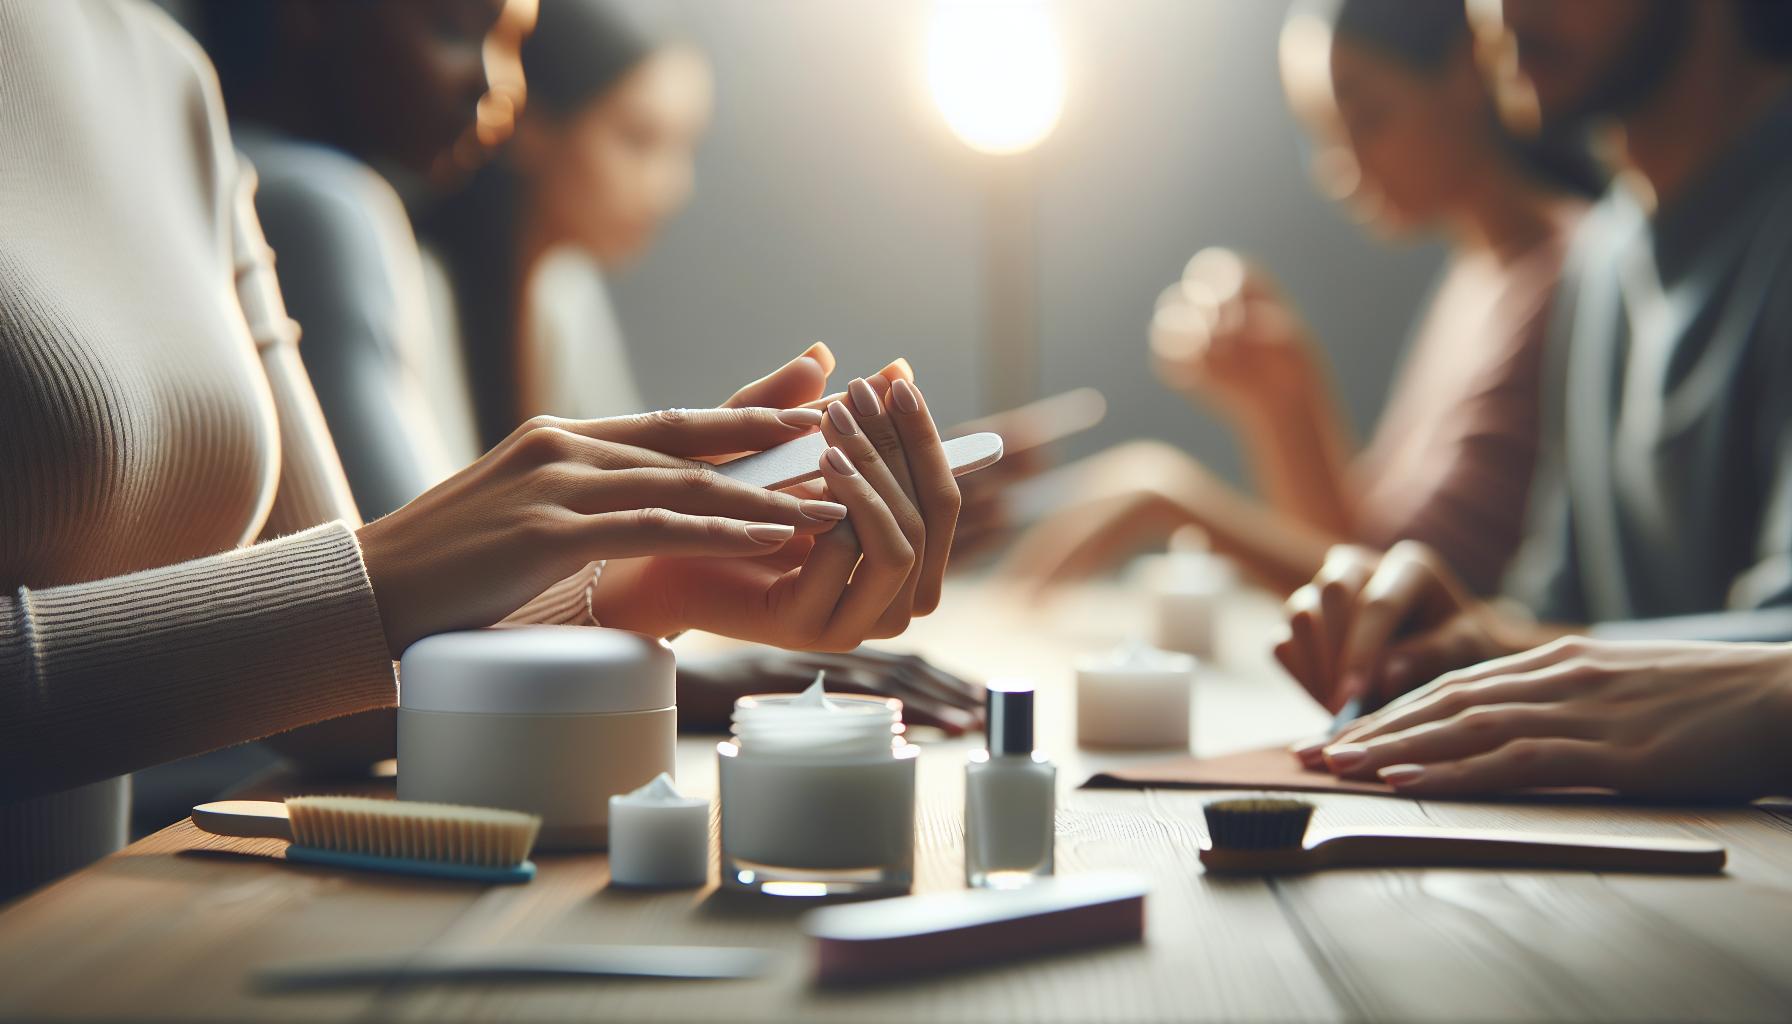
Caring for Your Jewelry During Acrylic Removal
When it comes to removing acrylic nails, safeguarding your jewelry might not be the first thing that comes to mind, but it’s equally essential. The chemicals involved in the removal process, particularly acetone, can tarnish or damage certain metals and gemstones. Therefore, taking the proper precautions before you soak off those acrylics can save your cherished pieces from unnecessary harm.
Before you begin the acrylic removal process, it’s advisable to remove any rings and bracelets. Acetone can be particularly harsh on jewelry, affecting its shine and integrity. Store these items in a safe, dry place away from your nail care station. For extra protection, consider wrapping delicate pieces in a soft cloth or placing them in a separate jewelry organizer to prevent any accidental exposure to this potent solvent.
H3: Cleaning Your Jewelry Post-Removal
Once your acrylic nails have been successfully removed, it’s important to clean your jewelry to restore its luster. Begin by rinsing pieces that might have been exposed to acetone with warm water; this helps to remove any residue left behind. For metals, use a gentle, non-abrasive cleaner specifically designed for jewelry. Avoid using baking soda or other abrasive substances that can scratch surfaces. Gemstone care varies, so make sure to check whether your stones are vulnerable to cleaning solutions. For example, pearls and opals should never be soaked in water. Instead, wipe them gently with a damp cloth.
H3: Regular Jewelry Maintenance
Incorporating regular maintenance into your jewelry care routine is vital for prolonging the life of your pieces. This includes storing your items properly, polishing them with a soft cloth regularly, and ensuring they remain dry and free from perfumes or lotions that can lead to tarnishing. Assessing your jewelry’s condition during nail care routines can help you catch any signs of wear or damage early, allowing for timely repairs and preventative care.
By being mindful of the potential impacts of acrylic removal on your jewelry, you can safeguard your treasured pieces and keep them looking their best. Remember, a little precaution goes a long way in preserving the beauty and shine of your jewelry collection!
What to Do if Acrylics Don’t Come Off Easily
Sometimes, despite your best efforts, soaking off acrylic nails can feel like a battle when they just won’t budge. This situation can be frustrating, but there are methods to handle stubborn acrylics without damaging your natural nails or your patience. One of the first things you can do is to ensure that you’re using enough acetone. If your first soaking didn’t yield results, try soaking your nails for a longer time-ideally 30 to 40 minutes. Wrap your nails in cotton balls soaked in acetone and then cover them with aluminum foil. The foil helps to trap heat, which increases the effectiveness of the acetone and makes it easier for the acrylic to dissolve.
If after repeated soakings the acrylics are still firmly in place, consider using an orange stick or a cuticle pusher to gently lift the edges of the acrylic. However, take great care not to force or scrape too hard, as you could damage your natural nail beneath. If the acrylic still resists removal, it may be time to consult a professional nail technician who can provide assistance without putting your nails at risk. This is especially important if you experience any pain or discomfort during the process.
Alternative Solutions
Should traditional acetone methods fail, there are various alternatives you can explore. Some techniques include using a nail file to gently thin down the acrylic before soaking them again; this increases the surface area for the acetone to work on. Moreover, there are specially formulated acrylic removers available that can dissolve the product more effectively than standard acetone. Another option is to consider a warm soak with a mixture of vinegar and lemon juice, which some find surprisingly effective. This concoction can be less harsh than straight acetone and is worth trying if you’re concerned about the impact on your nails.
Ultimately, patience is key when removing stubborn acrylic nails. By implementing these strategies and knowing when to seek professional help, you can ensure a safer, more effective removal process, keeping both your nails and your jewelry safe during the experience.
Post-Removal Nail Care: Tips for Strength and Recovery
After successfully soaking off your acrylic nails, your natural nails may need some extra love and care to return to their optimal health. The removal process, while necessary, can sometimes leave your nails feeling weakened and vulnerable. To ensure your nails recover strength and resilience, it’s essential to implement a well-rounded post-removal care routine.
Start by preparing a nourishing environment for your nails. Moisturization is key; apply a high-quality cuticle oil or a nourishing nail serum regularly to hydrate the nail bed and surrounding skin. These oils can help rejuvenate the area, making it less prone to peeling and breaking. Look for products that contain natural ingredients like jojoba oil, vitamin E, or almond oil, as they are known for their hydrating properties.
Additionally, consider incorporating a strengthening nail treatment into your routine. Many nail polish brands offer formulas designed to reinforce weak nails, often containing proteins and vitamins like keratin or biotin. Apply these treatments as directed, typically a few times a week, to fortify your nails.
Remember, your nails need time to recover, so avoid using nail polish or nail enhancements until your nails feel stronger. During this period, you can also benefit from a balanced diet rich in vitamins and minerals that promote nail growth, such as zinc, biotin, and iron. Foods like eggs, nuts, leafy greens, and fish can significantly improve the health and appearance of your nails from the inside out.
Lastly, to protect your jewelry during this recovery phase, make sure to keep your hands moisturized but avoid exposure to harsh chemicals or soaps. Wearing gloves while cleaning or doing dishes can prevent unnecessary stress on your nails and help maintain their newfound health. Embrace this opportunity to care for your nails holistically, and in time, they will regain their strength and shine, ready for whatever comes next.
Natural Remedies for Nail Nourishment After Removal
Nourishing your nails after acrylic removal is crucial to restoring their health and resilience. Natural remedies can be remarkably effective, utilizing simple ingredients found in your kitchen to provide the care and hydration your nails need. The right combination of oils, vitamins, and nutrients can transform your nails from weak and brittle to strong and vibrant.
One of the most beneficial ingredients for nail nourishment is coconut oil, known for its deep moisturizing properties. Its fatty acids penetrate the nail bed, hydrating and providing essential nutrients. To use, warm a small amount of coconut oil and massage it into your nails and cuticles daily. This can help reduce brittleness and promote growth. Another excellent option is olive oil, rich in antioxidants and vitamins A and E. Apply it similarly as a soothing treatment that protects the nail’s moisture barrier.
Adding vitamin E oil can also enhance your nail care regimen. It is known for its healing properties and can help repair damaged nails and cuticles. You can pierce a vitamin E capsule and apply the oil directly to your nails or mix it with other oils for a more potent blend. Additionally, consider incorporating aloe vera gel, which provides hydration and soothing effects, making it an excellent remedy for dry, irritated skin around the nails. Simply apply a thin layer of the gel and leave it on; it often absorbs quickly with no rinsing needed.
Herbal Remedies
Utilizing herbs can offer additional nourishment. For instance, rosemary and lavender oils not only smell delightful but are also known for stimulating circulation, which can enhance nail growth. Consider creating a nourishing foot or hand soak by combining warm water with a few drops of these essential oils, soaking your nails for about 15-20 minutes. This not only nourishes but also relaxes you, making it a perfect addition to your self-care routine.
To personalize your treatment, consider making a DIY nail serum by mixing equal parts of coconut oil, olive oil, and vitamin E oil in a small bottle. This concoction can serve as a daily boost for your nails. Aim to apply this serum consistently, and you may notice a significant improvement in strength, appearance, and overall health of your nails over time.
Incorporating these natural remedies not only aids in recovery after acrylic removal but also promotes a holistic approach to nail care, allowing for a sustainable, gentle routine that respects the natural state and beauty of your nails.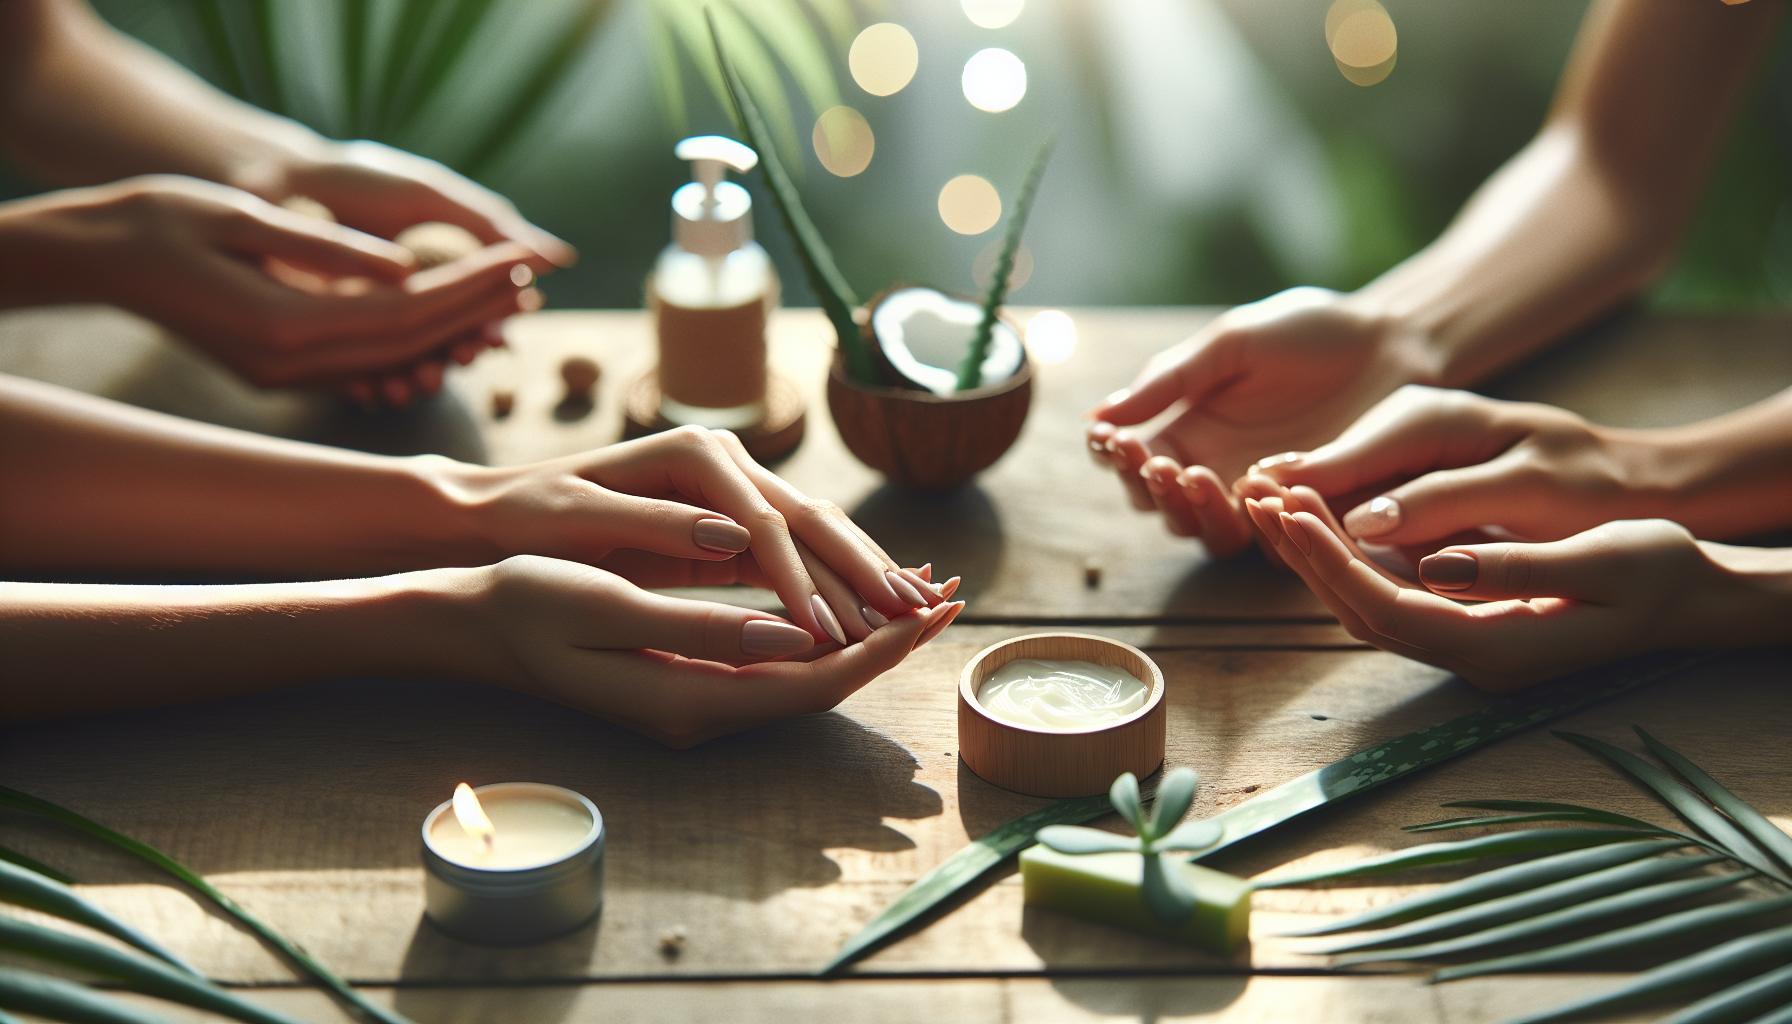
Common Mistakes to Avoid When Soaking Acrylics
Engaging in the process of soaking off acrylic nails can be a real game-changer, but mishaps along the way can jeopardize both your nails and, potentially, your jewelry. Many individuals overlook the details involved in removing acrylics, leading to common mistakes that can complicate what should be a straightforward task. Understanding these pitfalls can make your DIY nail care routine smoother and more effective.
One significant error is neglecting to protect your jewelry. Soaking your hands in acetone or other nail removing solutions can dull or tarnish your metal pieces. It’s crucial to remove any rings, bracelets, or watches beforehand to ensure they aren’t immersed in harmful chemicals. Consider placing your jewelry in a safe, dry location before beginning the acrylic removal process-for example, a jewelry box or compartmentalized organizer specifically designed for delicate pieces.
Another misstep is rushing the soaking process. While it may be tempting to speed things up, be aware that hasty soaking can lead to damaged natural nails or ineffective removal. Professionals recommend soaking for at least 20-30 minutes. Instead of losing patience, embrace the downtime-perhaps relax with a book or enjoy a quick show online while your nails do the work for you.
It’s also crucial to avoid the urge to force the acrylics off after soaking. Utilizing excessive force can cause significant harm to your natural nails, leading to breaks or painful tears. Instead, use a wooden stick or a gentle cuticle pusher to gently lift the softened acrylics. If they don’t come off easily, give them more time in the soak rather than risking injury.
Finally, using low-quality products, such as cheap acetone or ineffective foil wraps, can result in both poor results and potential harm. Invest in reputable brands that specialize in nail care, ensuring that you have the right tools for a successful soak-off experience. With the right precautions and knowledge, removing acrylic nails at home can be an easy and safe undertaking that respects both your nails and your cherished jewelry.
How to Organize Your Jewelry Collection After Removal
After taking the necessary precautions during acrylic nail removal, it’s the perfect opportunity to reassess and organize your jewelry collection. A well-ordered jewelry collection not only enhances your overall aesthetic but also protects your cherished pieces from damage. The key to effective organization lies in thoughtful categorization and storage solutions tailored to your specific items.
Begin by sorting your jewelry into distinct categories such as earrings, necklaces, bracelets, and rings. This simple act can significantly streamline your process of finding the right piece. You might consider using small containers or trays with dividers to keep items from tangling. For chains and necklaces, using individual compartments or hanging organizers can prevent knots and scratches. Always ensure that the storage environment is dry and away from direct sunlight, as exposure can fade gemstones and tarnish metals.
Jewelry Cleaning and Care
Before placing your jewelry back in storage, take a moment to clean each piece gently. Depending on the material, you can use a soft cloth or a specialized cleaner. For instance, a mixture of warm water and mild soap can work wonders for most metals, while more delicate items may require a professional cleaning solution. Be sure to dry each piece thoroughly to prevent moisture damage. Regular maintenance-such as polishing silver items and checking settings on rings-can extend the lifespan of your jewelry.
Creating a Display
Consider elevating your organization by creating an attractive display for pieces you frequently wear. Jewelry stands, decorative boxes, and wall-mounted systems can add visual interest to your space while ensuring easy access. This approach not only keeps your jewelry visible but also encourages you to wear different pieces regularly, showcasing your collection’s beauty and diversity.
Ultimately, a well-organized jewelry collection enhances your personal style and protects your investments. By taking these steps, you can enjoy the confidence that comes from knowing your jewelry is well cared for and easily accessible.
Exploring Alternatives to Acrylic Nails: A Comparison
Exploring alternatives to acrylic nails has become increasingly relevant for those seeking variety, lower maintenance, or healthier options for their natural nails. With a growing trend towards more natural beauty solutions, many individuals are curious about the best alternatives and how they compare in terms of appearance, durability, and care requirements.
One popular alternative is gel nails, which provide a similar aesthetic to acrylics but are generally more flexible and less prone to chipping. Gel nails are cured under UV or LED lights, creating a shiny finish that can last up to two weeks without the wear that often leads to lifting or damage. They are often praised for their natural look and feel, making them a great choice for those who love the effect of long, polished nails but want a healthier approach.
Another option is dip powder nails, which involves applying a base coat and then dipping the nail into colored powder. This method is less abrasive to natural nails and often results in a longer-lasting finish-around three weeks-with minimal maintenance. However, dip powder nails can still require careful removal to avoid damage, similar to acrylics.
For those prioritizing nail health, going completely natural is an excellent choice. This option encourages the growth of healthy nails through a focus on good nail care practices-regular moisturization, avoiding harsh chemicals, and maintaining an appropriate diet rich in nutrients. Simple nail-strengthening treatments, nail oils, and regular manicures can maintain the health and appearance of natural nails without the need for any enhancements.
Regardless of the choice, it’s essential to consider your lifestyle and personal preferences. Each method has unique advantages and potential drawbacks, making it crucial to weigh these factors carefully. With proper care and maintenance, these alternatives can provide the enhancement of acrylic nails while also promoting the health and strength of your natural nails.
DIY Nail Care Products You Can Make at Home
Creating your own nail care products at home not only empowers you to tailor treatments to your personal needs but also enhances your nail health with natural ingredients. Many people find commercial nail care products laden with chemicals, while DIY options allow for a more holistic and nourishing approach. Here are some easy-to-make recipes that will complement the process of soaking off acrylics and restore your nails afterward.
DIY Cuticle Oil
Cuticle oil is essential for maintaining healthy nail beds, especially after acrylic removal. To make your own:
- Ingredients:
– 1 tablespoon of sweet almond oil
– 1 tablespoon of jojoba oil
– A few drops of your favorite essential oil (like lavender or tea tree for its antifungal properties)
- Instructions:
1. Mix all the oils in a small glass dropper bottle.
2. Apply a drop to each cuticle and gently massage it in after soaking off your acrylics.
This oil not only moisturizes but also promotes healing and prevents hangnails.
Soothing Nail Strengthening Serum
Rebuilding strength after acrylics are removed is crucial, and a homemade serum can expedite this process. Here’s how to create one:
- Ingredients:
– 2 tablespoons of olive oil
– 1 tablespoon of Vitamin E oil
– 5 drops of lemon juice
- Instructions:
1. Combine all ingredients in a small bowl or container.
2. Apply the serum to your nails and massage gently, focusing on the tips and edges.
Olive oil is rich in fatty acids, while Vitamin E provides nourishment and hydration, giving your nails a vital boost.
Exfoliating Nail Scrub
A gentle scrub can invigorate your nails and cuticles, removing dead skin cells and promoting blood circulation.
- Ingredients:
– 1 tablespoon of sugar (brown or white)
– 1 tablespoon of coconut oil
– A few drops of any essential oil for fragrance
- Instructions:
1. Mix sugar and coconut oil until well-blended.
2. Gently massage the mixture into your nails and cuticles for a few minutes.
3. Rinse off with warm water.
This scrub not only exfoliates but also leaves a moisturizing layer behind.
By incorporating these DIY nail care products into your routine, you empower yourself to maintain healthy nails during and after the acrylic removal process. They are simple to prepare and packed with nourishing ingredients, making your nail care both effective and enjoyable. Plus, these treatments work wonders in maintaining the beauty of your jewelry as you care for your nails. With clean and healthy nail beds, you can wear your favorite pieces without the worry of damage or irritation.
Q&A
Q: How long does it take to soak off acrylic nails safely at home?
A: Soaking off acrylic nails typically takes about 20 to 30 minutes. Ensure you regularly check the nails during this time for signs of softness, which indicates that the acrylic is coming off. Use warmth by soaking hands in hot water to enhance the process.
Q: What is the best way to protect jewelry while soaking off acrylics?
A: To protect your jewelry, remove it before starting the soaking process. Store it in a safe place away from acetone fumes or any potential spills. If you’re dealing with delicate pieces, use a soft cloth to wrap them before storage.
Q: Can I use regular nail polish remover instead of acetone?
A: Regular nail polish remover may not effectively remove acrylic nails. Acetone is recommended due to its strength, which helps dissolve acrylic more efficiently. However, if you have sensitive skin, look for acetone alternatives specially formulated for acrylic removal.
Q: Should I file down my acrylics before soaking them off?
A: Yes, filing down the top layer of acrylic nails can significantly speed up the removal process. This exposure allows the acetone to penetrate the acrylic better, leading to easier soaking and removal.
Q: What are the signs that acrylic nails are ready to come off?
A: Signs that acrylic nails are ready to come off include a softened texture and lifting edges. If the acrylic feels pliable or begins to separate from your natural nail, it’s time to gently push it off or soak it for a bit longer.
Q: Is it safe to use a heat source for faster acrylic removal?
A: Using indirect heat, such as soaking your hands in warm water while the acrylic is being removed, is safe. Avoid direct heat sources, as they can damage nails or burns hazards. Always prioritize safety over speed.
Q: Can soaking off acrylic nails damage my natural nails?
A: Soaking can weaken natural nails temporarily. To counteract this, emphasize proper post-removal care. Hydrating your nails with oils or strengtheners will aid in recovery and keep them healthy.
Q: What should I do if the acrylic still won’t come off after soaking?
A: If acrylic isn’t coming off easily after soaking, gently file it down more or soak for an additional 10 minutes. If it persists, consider visiting a nail technician for professional help to avoid damaging your natural nails.
For a comprehensive guide on preparing your nails and caring for your jewelry during the process, visit our main article!
To Conclude
Congratulations! You now have the essential knowledge to safely soak off acrylics at home without damaging your precious jewelry. Remember, taking care of your accessories not only enhances their longevity but also keeps them looking beautiful. If you’re feeling inspired, head over to our DIY tutorial on cleaning and restoring gemstones or discover the best practices for jewelry storage to keep your collection in top shape.
Don’t hesitate to explore our other guides, such as styling tips for your jewelry and insights on starting your own jewelry shop. Interested in more expert advice? Sign up for our newsletter to get the latest tips straight to your inbox. As you embark on your jewelry care journey, feel free to leave a comment or share your experiences with us-your story could inspire others! Let’s keep this conversation going and elevate your jewelry game together!
Get our latest guides, news, and insights highlighted in your Google Search & AI Overviews.