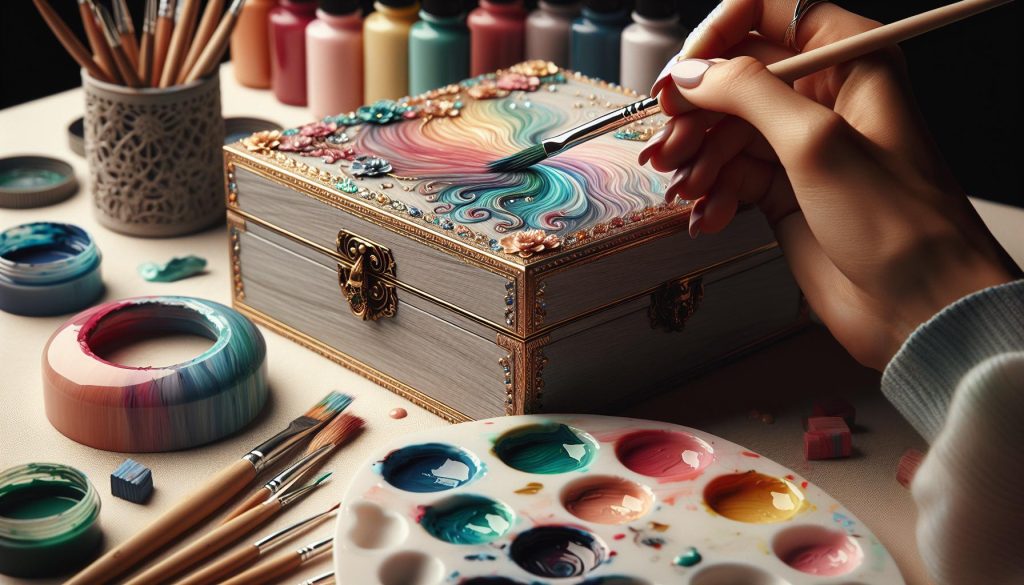
Are you ready to elevate your jewelry box projects with stunning color effects? Blending acrylics might just be your secret weapon! By mastering this technique, you can create beautiful, unique finishes that add depth and character to your pieces. Whether you’re a seasoned artist or just starting out, understanding how to blend colors effectively will enhance your creativity and allow your designs to stand out. Imagine opening your jewelry box to find a vibrantly colored array of handmade treasures that reflect your personal style. In this guide, we’ll explore the essential tips and tricks for achieving gorgeous acrylic blends. Get inspired and discover how these techniques can transform your artistic endeavors into eye-catching masterpieces!
Understanding Acrylic Paints: A Beginner’s Guide
Acrylic paints have become a staple in the world of crafting, thanks to their versatility, vibrant colors, and quick-drying properties. They are water-based, which makes them easy to clean up and ideal for beginners. When it comes to blending acrylics, understanding the nature of these paints is crucial. Acrylics can be thinned with water or acrylic mediums, allowing artists to create a range of textures and sheens. This property is particularly beneficial when aiming for smooth transitions and gradations in projects like decorating a jewelry box.
To achieve stunning results, one must be aware of the paint’s characteristics. Acrylics remain workable for varying periods based on how they are thinned. A key tip is to work quickly to blend colors before they dry, which can be achieved by using a wet palette to keep paints moist. As you explore blending techniques, consider the different brands and formulations-some have more opacity or transparency, affecting how colors merge and appear on materials like wood or canvas.
Experimentation is essential; try layering thin washes of color, which allows the underlying hues to subtly influence the final appearance. When creating designs for your jewelry box, remember that combining colors in this manner can enhance depth and visual interest. Familiarizing yourself with acrylic paints will empower you to confidently express your creativity while crafting unique pieces that can be cherished for years to come.
In summary, embracing the qualities of acrylic paints-such as their quick-drying time and adaptability-will lead to captivating gradients and blended effects that can transform your jewelry box into a stunning work of art.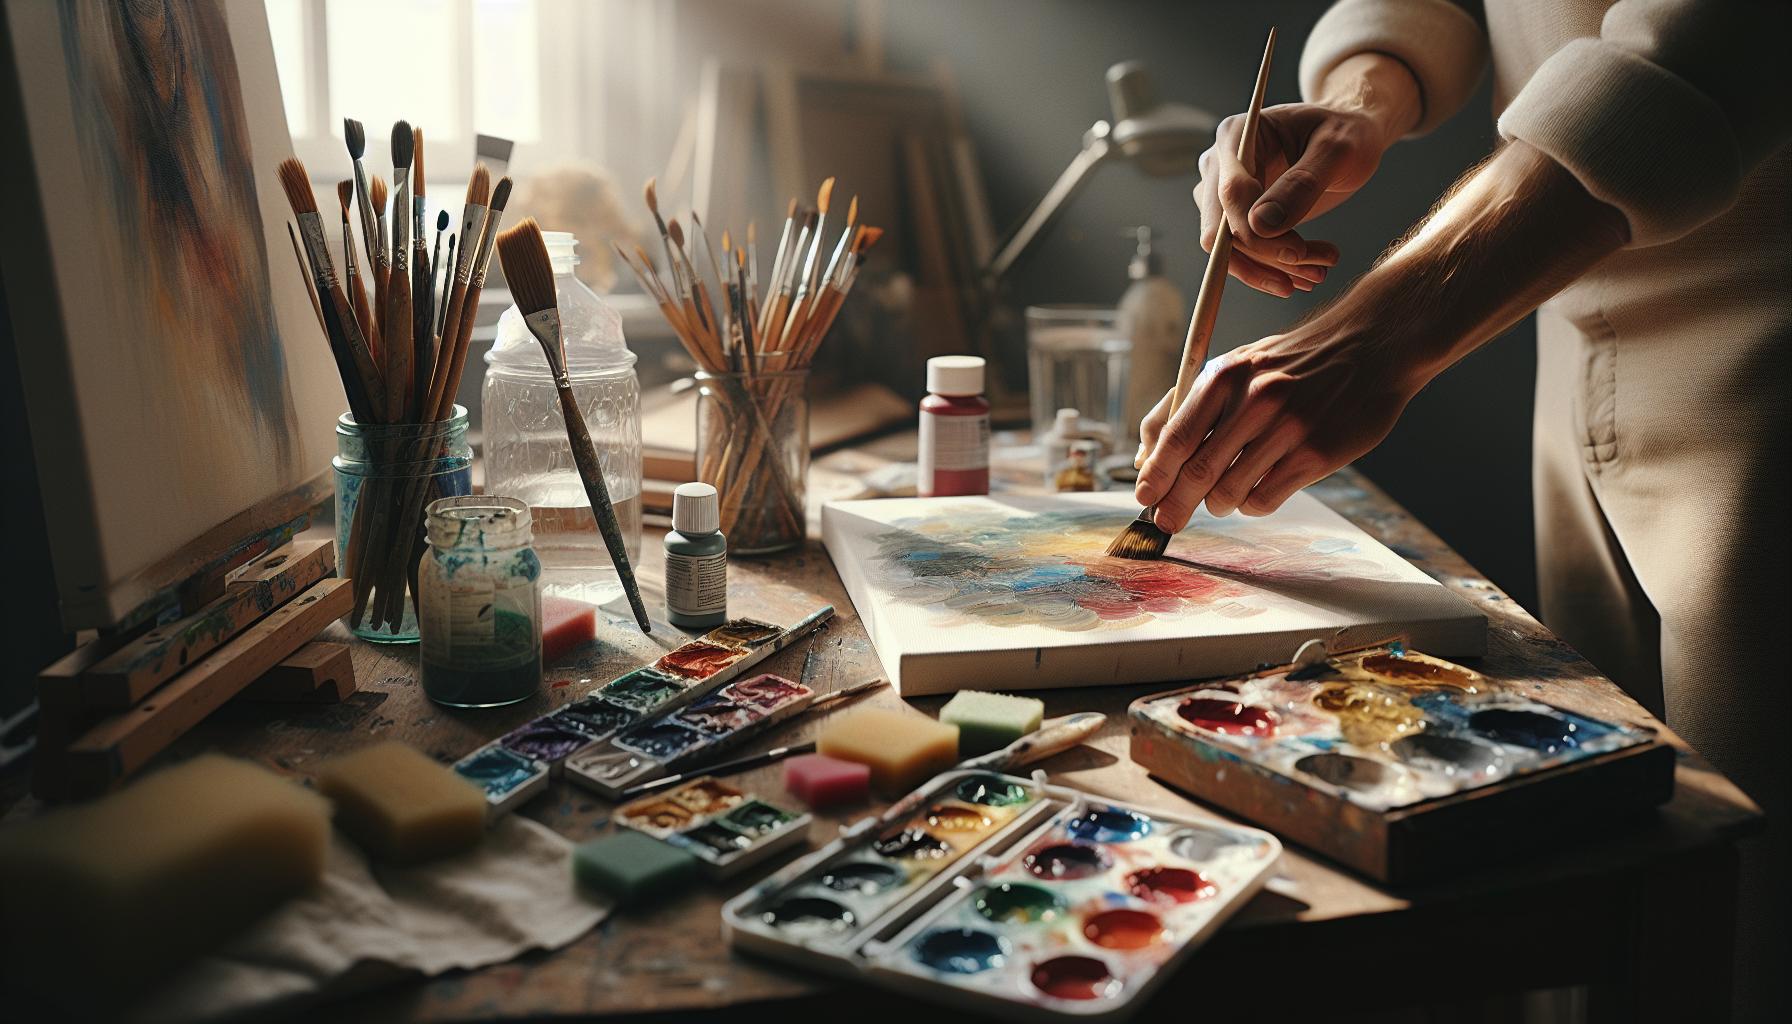
Essential Tools for Blending Acrylics Effectively
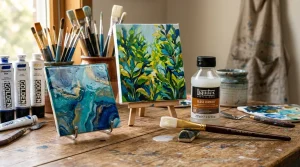
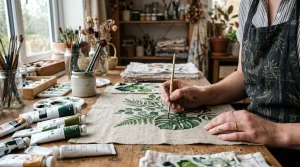
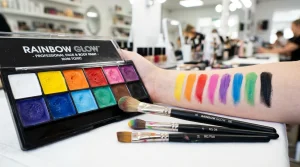
To achieve stunning blends with acrylic paints, having the right tools at your disposal is essential. Each tool you choose can significantly influence how effectively you blend colors and the final look of your jewelry box. Start with a high-quality set of brushes; different shapes and sizes can create varying effects. Flat brushes are excellent for broad strokes and base layers, while round brushes give precision for detail work. A set of fan brushes can also be useful for softening edges and achieving smooth transitions among colors.
A wet palette is another indispensable tool. This device keeps your acrylics moist for longer periods, allowing you to work on blending without the stress of drying paint. By using a wet palette, you can explore mixing colors easily, experiment with techniques throughout your session, and avoid the waste of paints that dry too quickly. Additionally, consider using palette knives, which are perfect for mixing colors directly and can help create unique texture effects by applying paint with more control.
For those who enjoy experimenting with various techniques, adding a few acrylic mediums to your toolkit can be beneficial. Products like glazing medium can enhance transparency and extend drying time, allowing for more extended blending periods and richer effects. Similarly, a blending medium can help colors merge effortlessly, enabling you to create stunning gradients with ease, essential for a beautifully designed jewelry box.
Lastly, always keep some clean water and paper towels nearby. This simple setup allows for easy cleanup and quick changes between colors. This practice not only keeps your workspace organized but also gives you the freedom to adjust and refine as you create, allowing the artistic process to flow smoothly. Equip yourself with these essential tools, and you’ll be on your way to creating breathtaking color effects that will make your jewelry box truly stand out.
Techniques for Achieving Beautiful Color Gradients
Achieving stunning color gradients with acrylic paint can elevate your jewelry box design from ordinary to extraordinary. One of the most effective techniques for blending colors lies in the use of the “wet blending” method. This involves working with fresh, wet paint, allowing the colors to intermingle seamlessly on your surface or palette. By applying two or more colors side by side and using a clean brush, gently swirl them together where they meet. This method works best with a high-quality brush that can hold enough paint while providing good control, making it easier to create soft edges and smooth transitions.
Another approach to mastering gradients is to use layering techniques, particularly the “glazing” method. This requires applying a transparent layer of color over a dried base layer. Start with your base color, allowing it to dry completely, then mix a small amount of acrylic glazing medium with your new color. Apply the glaze thinly and evenly over the base, gradually building up layers until you achieve your desired tone and depth. This technique not only enhances color richness but also adds a subtle luminosity to the piece-perfect for a jewelry box that needs to catch the light.
To further explore gradients, consider the “ombré” technique, which creates a stunning fade from one color to another. Begin by mixing two colors: your starting color and your ending color. Apply the starting color across the top of the area to be painted. While the paint is still wet, use a clean, dry brush to dab the line between the two colors, gradually pulling the starting color downwards. Then, clean your brush before loading it with the ending color, and similarly pull it upwards towards the starting color. This back-and-forth blending helps to create a soft gradient between the two colors.
Lastly, practicing the “dry brush” technique can also help achieve beautiful gradients. This involves taking a dry brush and lightly dragging it over a dry paint layer, which can pick up and blend colors gently for a softer effect. The beauty of acrylics is their versatility; with practice, choosing the right technique for your desired gradient effect can add depth and beauty to your jewelry box, transforming it into a unique piece of art that reflects your creativity.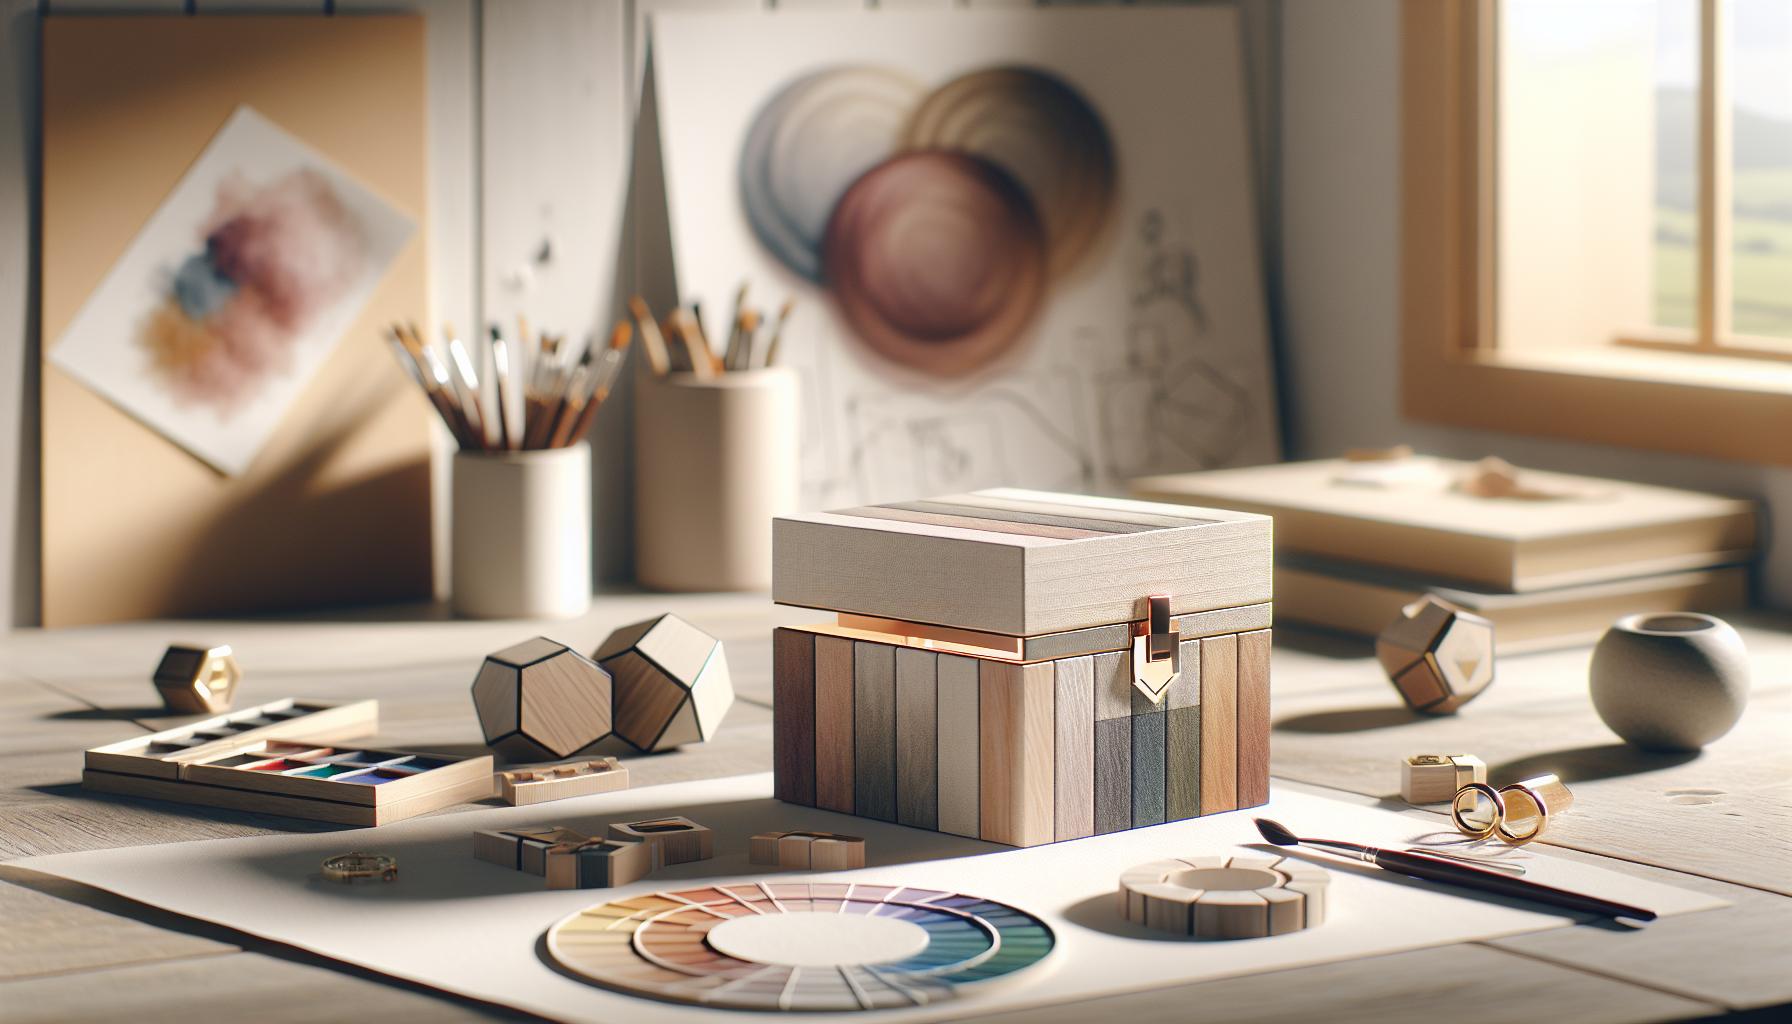
Color Theory Basics for Jewelry Box Designs
Understanding the intricacies of color theory can be a game-changer in elevating your acrylic jewelry box designs from simple crafts to visually stunning pieces of art. Color not only affects the aesthetic appeal but also evokes emotions and conveys personal style. The primary colors-red, blue, and yellow-serve as the foundation for creating a vibrant palette. By blending these colors together, you can produce secondary hues like green, orange, and purple, expanding your creative possibilities immensely.
To effectively utilize color theory in your designs, consider the concept of color harmony. This involves creating pleasing combinations of colors based on their relationships on the color wheel. For instance, complementary colors, which are opposite each other, can create a striking contrast that draws attention to specific features of your jewelry box. Meanwhile, analogous colors, which sit next to each other on the wheel, can produce a serene and cohesive look, perfect for a soft, harmonious design.
When choosing your color scheme, keep in mind the significance of warm and cool colors. Warm colors such as reds and yellows tend to create energy and excitement, making them effective for lively designs. In contrast, cool colors like blues and greens can evoke calmness and tranquility. Selecting a warm or cool palette depending on the mood you wish to convey will guide you in blending your acrylics effectively.
Experimentation is key in applying these color theory basics. Start by creating small swatches on canvas to see how different colors interact with one another when blended. Use techniques like glazing and layering, as mentioned previously, to explore how transparency and depth can further enhance your designs. Remember, creating a striking jewelry box is not solely about choosing the right colors; it’s about understanding their influence and interplay to create a truly captivating piece.
Step-by-Step: Blending Techniques for Perfect Hues
Blending acrylics is a transformative process that can elevate your jewelry box projects from ordinary to extraordinary with stunning color effects. Achieving the perfect hues requires a combination of technique, patience, and a little creative experimentation. To begin, gather your essential tools, including a palette, a variety of brushes (flat, round, and fan), and a spray bottle filled with water to keep your paints moist. Remember, acrylics dry quickly, so having your supplies ready is key for seamless blending.
Start with a base layer of paint applied evenly across the surface of your jewelry box. This initial coat will set a foundation for your blending efforts. Next, choose two or three colors that complement each other based on your predetermined color scheme. Use the following steps for effective blending:
1. Prepare Your Colors
- On your palette, squeeze out a small amount of your chosen colors.
- Consider mixing a bit of a lighter color or white into one of your base colors for gradual transitions.
2. Apply Your Base Color
- Using a flat brush, apply your primary color in broad strokes, covering the desired area.
- While the paint is still wet, you can begin to add your secondary color.
3. Blend with a Clean Brush
- With a clean brush (or the same brush if enough paint is removed), lightly feather the area where the two colors meet.
- Use gentle, circular motions or back-and-forth strokes to blend them together. The edges should soften and merge.
4. Layer for Depth
- Allow the first layer to dry before adding more colors. This will prevent muddying the colors.
- Repeat the blending process, layering additional shades to create depth and dimension.
Remember, practice makes perfect. If you find a blend isn’t working as intended, simply add a little more of the base color and start over. Always keep an eye on the drying time, and maintain a wet edge during blending to prevent harsh lines.
As you become more comfortable with blending techniques, consider experimenting with glazing-where you apply a thin transparent layer over dried paint to achieve a luminous effect. With practice and patience, you’ll develop a unique style that adds not just color but personality to your acrylic jewelry boxes, making them truly one-of-a-kind treasures.
Creating Unique Textures with Acrylic Blending
Experimenting with textures can elevate your acrylic jewelry box creations, adding depth and personality that simple blending cannot achieve. By combining different techniques and materials, you can create striking visual effects that make your pieces truly unique. One effective method is using a water spray technique to encourage texture; simply spritz the surface lightly before applying a thin wash of paint. This causes the paint to disperse in interesting patterns, creating a fluid and organic appearance.
Another way to develop unique textures is by incorporating additional mediums into your acrylic paints. Products like modeling paste or texture gels can be mixed directly with your paint on the palette or applied directly onto the surface of your jewelry box. For instance, you might use palette knives or a stiff brush to spread a layer of modeling paste onto your box, allowing it to dry before painting over it. This technique adds three-dimensionality, making your designs come alive.
Incorporating layering techniques can also play a significant role in texturing. After the base colors have dried, experiment with dry brushing-a technique where you use a dry brush to apply a lighter color over a darker base. This method highlights the raised areas and creates an old-world distressed effect, enhancing the box’s character. Similarly, sponging can be a fun way to apply color and texture at the same time. Cut a natural sponge into manageable sizes, dip it into your desired color, and then press and twist against the surface of your box. The result often resembles a beautiful, uneven pattern reminiscent of natural materials.
Lastly, don’t overlook the possibilities of integrating metallic paints or special effect mediums such as iridescent or interference paints. These can add glimmers and unique visual shifts as the light reflects off the surfaces of your jewelry box. Such effects will draw the viewer’s eye and make your piece a captivating focal point. Experimentation is key, so take the time to play and discover combinations that resonate with your creative vision.
Incorporating Metallics and Special Effects in Acrylics
Incorporating metallic paints and special effects into your acrylic jewelry box designs can significantly elevate their aesthetic appeal, transforming an ordinary piece into something extraordinary. The interplay of light and color enhances the visual dynamics, making your creation a captivating centerpiece. Metallic acrylics, such as gold, silver, or copper, can cast a stunning glow, while iridescent and interference mediums offer an additional layer of sophistication, shifting colors depending on the viewing angle.
To get started, consider layering metallic paints over a solid base color. This technique allows the underlying hue to peek through the metallic finish, producing depth and richness. Apply the metallic paint with a soft brush or even a sponge for varied texture. For example, using a dry-brushing technique where you just lightly coat the brush can create a brushed metal effect, giving your jewelry box a vintage or worn look that adds character.
Another exciting approach is using special effect mediums, such as glitter gels or high-shine varnishes, to create unique finishes. When mixed with your acrylic paints or used as a layer on top, these mediums can introduce shimmering patterns and textures that attract attention. Take care to apply them evenly, as uneven application can lead to a chaotic look; rather, aim for a polished aesthetic that complements your design.
Experimentation is key in incorporating these elements artfully. Create swatches on a canvas to test how different metallics and effects interact with your chosen base colors before applying them to your jewelry box. The goal is to achieve a cohesive look that blends well while still showcasing the striking contrasts that metallics and special effects provide. By strategically using these materials, you can craft a compelling visual story that highlights your artistic intent and draws the viewer’s eye.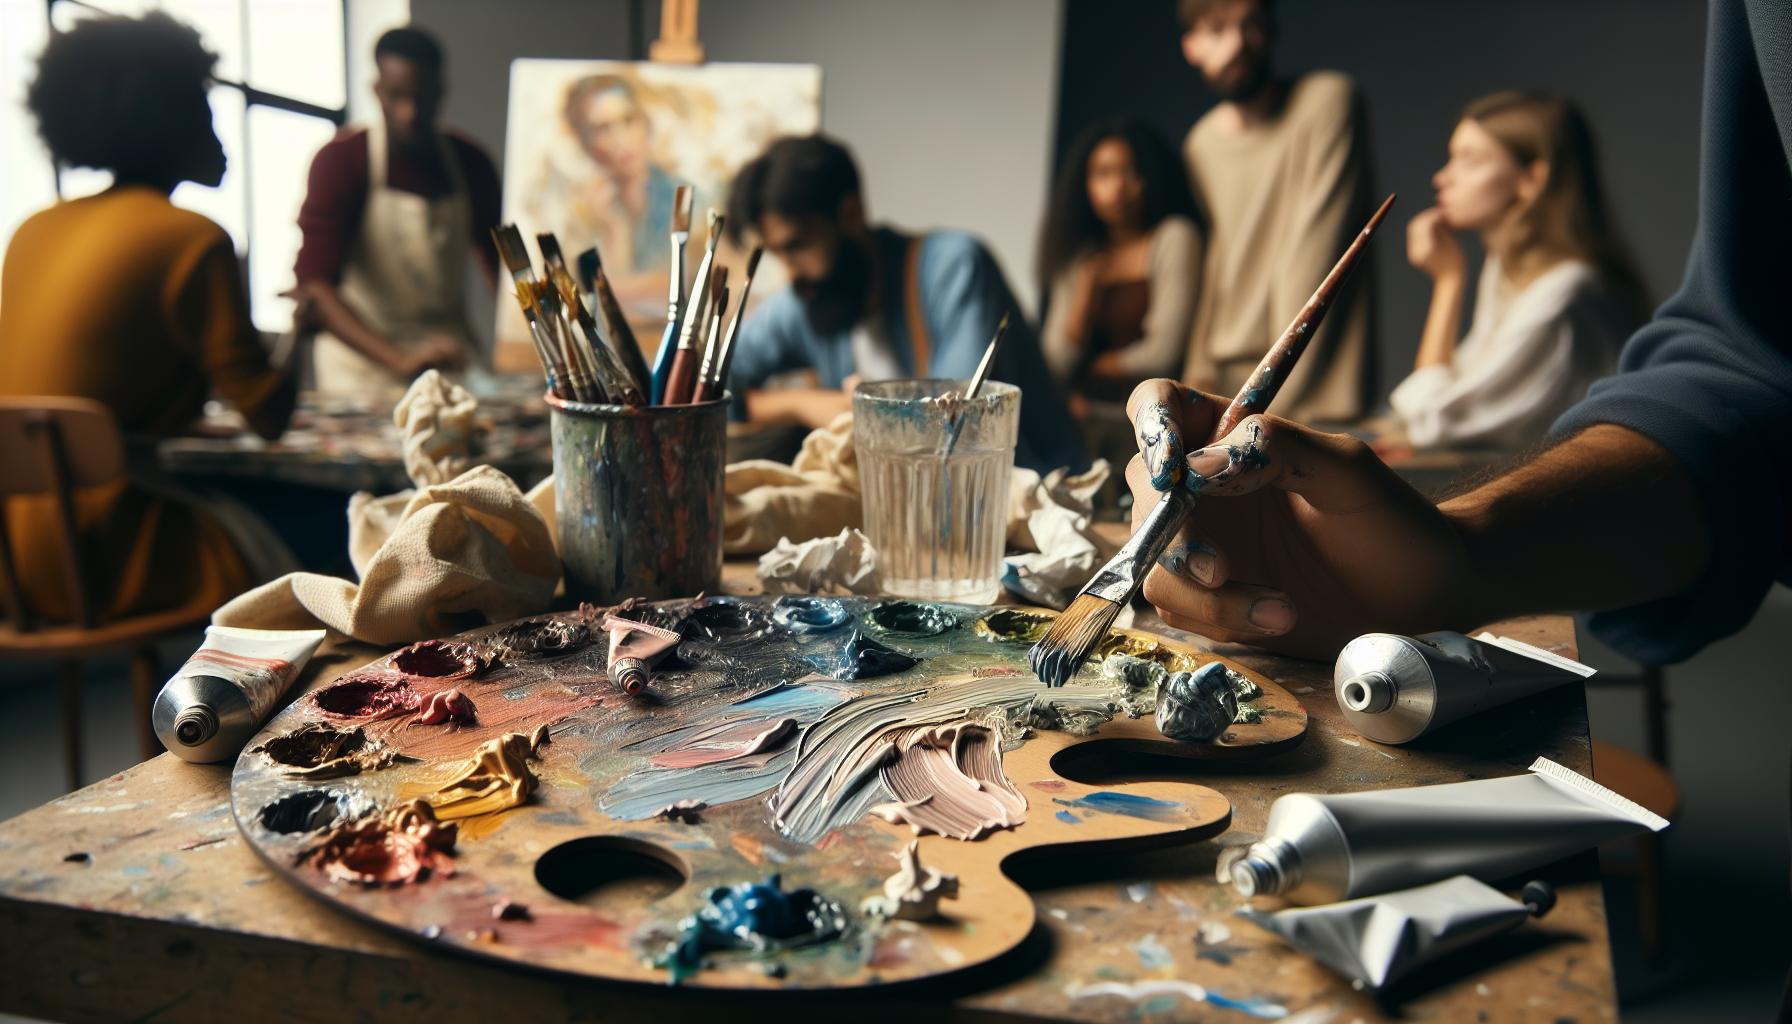
Common Mistakes to Avoid When Blending Acrylics
Blending acrylics can yield beautiful and intricate effects on your jewelry box, but it’s easy to make mistakes that can dampen your artistic vision. Understanding these common pitfalls can help you achieve the stunning results you desire. One prevalent error is using poor-quality or incompatible brushes. Acrylic paints often require specific tools for optimal blending; selecting a brush that is too stiff or has bristles that shed can produce uneven color application and frustrating textures. Instead, choose a soft flat brush or a blending brush designed for acrylics to ensure a smooth and seamless finish.
Another mistake occurs when blending too many colors at once. Overloading your palette can lead to muddy colors and lackluster effects. Focus on a limited color range for a harmonious look while gradually incorporating additional shades. For instance, when creating gradients, start with two to three colors that complement one another and build from there, allowing for a more controlled blending process. This approach not only simplifies your work but also enhances the vibrancy of your designs.
It’s also crucial to avoid overworking your paint. Acrylics dry quickly, which can tempt you to continually manipulate the wet paint hoping to achieve the perfect blend. However, this can lead to a soupy, undesirable texture. Instead, work in smaller sections and make swift, confident strokes, allowing each layer to dry before adding another. This will maintain the integrity of the paint and help your colors to remain true and vibrant.
Lastly, overlooking the importance of a proper workspace can have a significant impact on your results. Ensure your painting area is well-lit and organized, free from distractions. A cluttered workspace can lead to accidents and impair your focus, ultimately affecting your blending techniques. Set up a clean, dedicated space where you can experiment freely and enjoy the process of creating your unique jewelry box. By being mindful of these common mistakes, you’ll be well on your way to mastering the art of blending acrylics and creating stunning visual effects.
Care and Maintenance of Your Blended Acrylic Jewelry Box
To keep your blended acrylic jewelry box looking stunning for years to come, proper care and maintenance are essential. Just like any cherished item in your collection, your jewelry box deserves attention to preserve the vibrant colors and intricate textures you’ve so painstakingly achieved. One key factor to remember is that acrylic paints, while durable, require thoughtful handling to avoid damage.
Start by ensuring that your jewelry box is stored in an environment that minimizes exposure to direct sunlight and extreme temperatures, both of which can cause colors to fade or warp the material. When it comes to cleaning, always opt for a soft, damp cloth to gently remove dust and dirt. Avoid using harsh chemicals or abrasive materials that could scratch the surface or harm the acrylic finish. For stubborn spots, a mild soap solution can work wonders-just be sure to rinse thoroughly and dry immediately with a soft cloth to prevent any water marks.
Another crucial aspect is to handle your jewelry box carefully, avoiding placing heavy items on top or subjecting it to rough treatment. If you’re using your jewelry box frequently, consider keeping a dedicated space for it where it won’t be at risk of being knocked over or scratched. Adding small felt pads to the base of the box can also protect any surfaces it rests on, preventing scratches when being moved.
Consider touching up any scuffs or minor scratches with a matching acrylic paint to maintain its pristine appearance. This simple act can help keep your jewelry box looking as vibrant as the day you crafted it. Finally, regular inspections will help you catch any potential issues early on, allowing for prompt repairs and ensuring your beautiful creation remains a cherished piece in your jewelry collection. These consistent, gentle practices will ensure that your blended acrylic jewelry box remains not only a functional piece but a stunning showcase of your artistic talent.
Showcasing Your Finished Jewelry Box: Styling Tips
Creating a beautiful environment for your handcrafted jewelry box not only showcases your artistic effort but elevates the entire aesthetic of your space. The right styling can turn a simple storage item into a stunning focal point. Imagine your acrylic box reflecting hues of light and color, complementing its surroundings and becoming a conversation starter.
To start styling your finished jewelry box, consider its placement within the room. Position it on a well-lit surface, such as a dresser or vanity, where light can enhance the vibrant colors you’ve carefully blended. Adding a soft, textured runner or decorative tray underneath can create contrast while providing a base that draws the eye. Here are some quick tips for styling:
- Layer with Texture: Surround your jewelry box with materials like velvet or fabric that contrast the smoothness of the acrylic, creating a visual dynamic.
- Incorporate Natural Elements: Consider adding small potted plants or flowers nearby to introduce life and warmth, balancing the hard surfaces of acrylic with soft organic forms.
- Use Color Coordination: Choose decorative items like candles or picture frames that echo the colors in your jewelry box. This not only enhances style but also creates a cohesive look.
- Limit Clutter: Less is more-keeping the area around your jewelry box clean highlights its beauty. Too many items can detract from its artistic qualities.
Beyond placement, think about the accessories you use within your jewelry box. Organizers or inserts that match or contrast with the box’s colors can add functionality and flair. Translucent acrylic dividers allow you to see your jewelry while maintaining a sleek design.
Lastly, consider the use of lighting. Soft, ambient lights or table lamps can spotlight your jewelry box, emphasizing its colors and textures even during the evening hours. If you’re feeling adventurous, you might even experiment with colored bulbs that resonate with the hue of your box, creating a captivating atmosphere in your room.
Carefully curating the display of your acrylic jewelry box can transform it from mere storage into a stylish accent piece in any setting. Explore different arrangements and enjoy the process of making your artistic creation shine.
Inspiration: Stunning Jewelry Box Designs to Try
Creating a stunning jewelry box is not just about functionality; it’s about turning a simple storage solution into a captivating piece of art. With the right blending techniques using acrylics, you can achieve mesmerizing effects that will leave your jewelry box radiant. Imagine using ombre fades in your favorite hues, or the addition of metallic and pearlescent finishes that catch the light beautifully. Here are some inspiring designs that can spark your creativity as you embark on your own acrylic blending journey.
One fantastic idea is to create a sunset gradient effect, where warm colors like oranges, pinks, and yellows blend seamlessly into deeper shades of purple and blue. This technique not only adds depth but also evokes the tranquility of a sunset. Utilize a damp sponge or brush to lightly blend the acrylics, working from the lighter to darker shades for a smooth transition. Pair this design with gold accents, perhaps in the form of a delicate latch or trim, to emphasize the stunning colors even further.
For a more contemporary look, consider a geometric design. Start with a background of solid color, then use painter’s tape to create sharp lines for a contrasting color. After laying down your base, carefully remove the tape to reveal crisp edges. A monochromatic palette with various shades of the same color can create a sophisticated and modern feel. This approach is perfect for beginners as it requires less blending but still yields a striking result.
Additionally, incorporate textured effects into your acrylic designs. Use techniques such as sponging, dabbing with crumpled plastic wrap, or even scratching into the wet paint to create unique surface textures. A natural stone finish using earthy colors like soft greens and browns can give your jewelry box an organic feel, while an abstract splatter technique can add a playful and artistic twist, making each piece truly one-of-a-kind.
When it comes to styling these beautiful creations, remember to showcase them in a well-lit area where their vibrant colors can reflect the light. Adding personal touches like engraved initials or a inspirational quote in a contrasting color on the lid can turn your jewelry box into a unique keepsake that is both functional and beautiful. Let these ideas guide you as you blend acrylics to craft your perfect jewelry box-a fusion of art and utility that will inspire you every day.
Where to Find Quality Acrylic Supplies and Materials
Finding quality acrylic supplies and materials is essential for achieving stunning results in your jewelry box projects. The right tools and paints can elevate your design from simplistic to extraordinary, allowing your creativity to shine through. Whether you’re a seasoned artist or a beginner, knowing where to shop can significantly impact your workflow and the finish of your work.
Start by exploring local art supply stores, which often carry a variety of acrylic paints, brushes, and blending tools. These shops allow you to see the products in person, helping you choose the best colors and textures for your project. Additionally, staff members can provide valuable insights and recommendations based on your specific needs. Make sure to look for brands renowned for their quality, such as Liquitex or Golden, which offer a wide range of colors and finishes.
Online marketplaces like Amazon, Blick Art Materials, and Jerry’s Artarama also have extensive selections of acrylic supplies. Online shopping provides the convenience of comparing prices, reading reviews, and often accessing more brands than may be available locally. Also, consider specialized websites focusing on craft supplies, where you can find unique materials, such as iridescent or metallic acrylic paints, ideal for creating eye-catching effects on your jewelry boxes.
Lastly, don’t overlook discount retailers or craft fairs where you might find quality paints and tools at lower prices. Many artists thrive on sourcing quality materials at bargain costs, which can work wonders for both your creativity and budget. Joining community groups – both in-person and online – can also lead you to recommended sources and deals, forming connections that could enhance your art-making experience.
With the right supplies, your acrylic blending projects will turn from concept to captivating creations that truly showcase your unique style. Happy crafting!
Q&A
Q: How can I lighten or darken acrylic paint colors effectively?
A: To lighten acrylic paint, gradually mix in white or a lighter hue. To darken, add a small amount of black or a complementary color. Always test the mixture on a scrap piece before applying it to your jewelry box for accurate results.
Q: What types of acrylic mediums can enhance blending techniques?
A: Acrylic mediums such as glazing liquid or slow-drying medium allow for smoother transitions and extended working time. Incorporating a flow medium can also help achieve a soft blend, making it easier to create subtle effects in your jewelry box colors.
Q: Can I use spray acrylics for blending effects on my jewelry box?
A: Yes, spray acrylics can provide unique blending effects, especially for larger surfaces. For best results, use multiple light coats and blend while wet for a smooth transition. Always follow up with a clear sealer to protect the finish.
Q: What tools are best for blending acrylic paints?
A: Essential tools for blending acrylics include soft brushes, palette knives, and sponge applicators. A wet brush technique can also help achieve seamless transitions. Experiment with different tools to find what works best for your jewelry box project.
Q: How can I create marbled effects with acrylics?
A: For marbled effects, pour different colors onto your surface, then gently swirl them with a palette knife or a toothpick. This technique allows the colors to mix organically, creating stunning patterns on your jewelry box.
Q: Is it possible to blend acrylics on other surfaces besides wood?
A: Yes, acrylic paints can be blended on various surfaces like canvas, metal, or glass. Ensure the surface is primed properly for best adhesion and blending results on non-porous materials, especially when creating jewelry boxes.
Q: How should I seal my blended acrylic colors on a jewelry box?
A: After your blended colors have dried, use a clear acrylic sealer or varnish to protect the artwork. Choose between matte and glossy finishes depending on your desired aesthetic and apply as per the product instructions for longevity.
Q: What should I do if my acrylic paints are drying too quickly while blending?
A: If your paints dry too fast, consider using a slow-drying medium or a palette with a lid to keep the paints moist. Working in smaller sections can also help maintain wet edges for better blending.
For more tips on achieving beautiful color effects, explore the sections on blending techniques and creating unique textures in your article!
Key Takeaways
Now that you’ve mastered the art of blending acrylics for stunning jewelry box color effects, it’s time to unleash your creativity. Remember, the right color combinations can transform your pieces from ordinary to extraordinary-but don’t stop here! For more tips on caring for your jewelry or exploring DIY tutorials, check out our guides on cleaning metals and styling advice.
Act now-your next masterpiece is just an acrylic blend away! If you have any questions or want to share your creations, drop a comment below or connect with our community. Don’t forget to subscribe to our newsletter for exclusive insights and updates on jewelry making techniques and business insights. Your journey in crafting exquisite pieces is just beginning-let’s dive deeper together!
Get our latest guides, news, and insights highlighted in your Google Search & AI Overviews.